
1. Why Overgrown Nails Hurt Joints Even Before They Curl
If you hear click-clack-click across hardwood or tile when your dog stands casually or walks straight ahead, their claws are already altering skeletal alignment. Canine digital pads carry proprioceptive nerves that tell the brain when the foot hits level ground. When long claws strike hard flooring first, upward leverage pushes the distal phalanx toe bones backward—flattening the pasterns ("hare-foot splay"), straining flexor tendons, and overloading arthritic shoulders and hips.
2. Reading the 3 Cross-Section Stages Inside a Black Claw
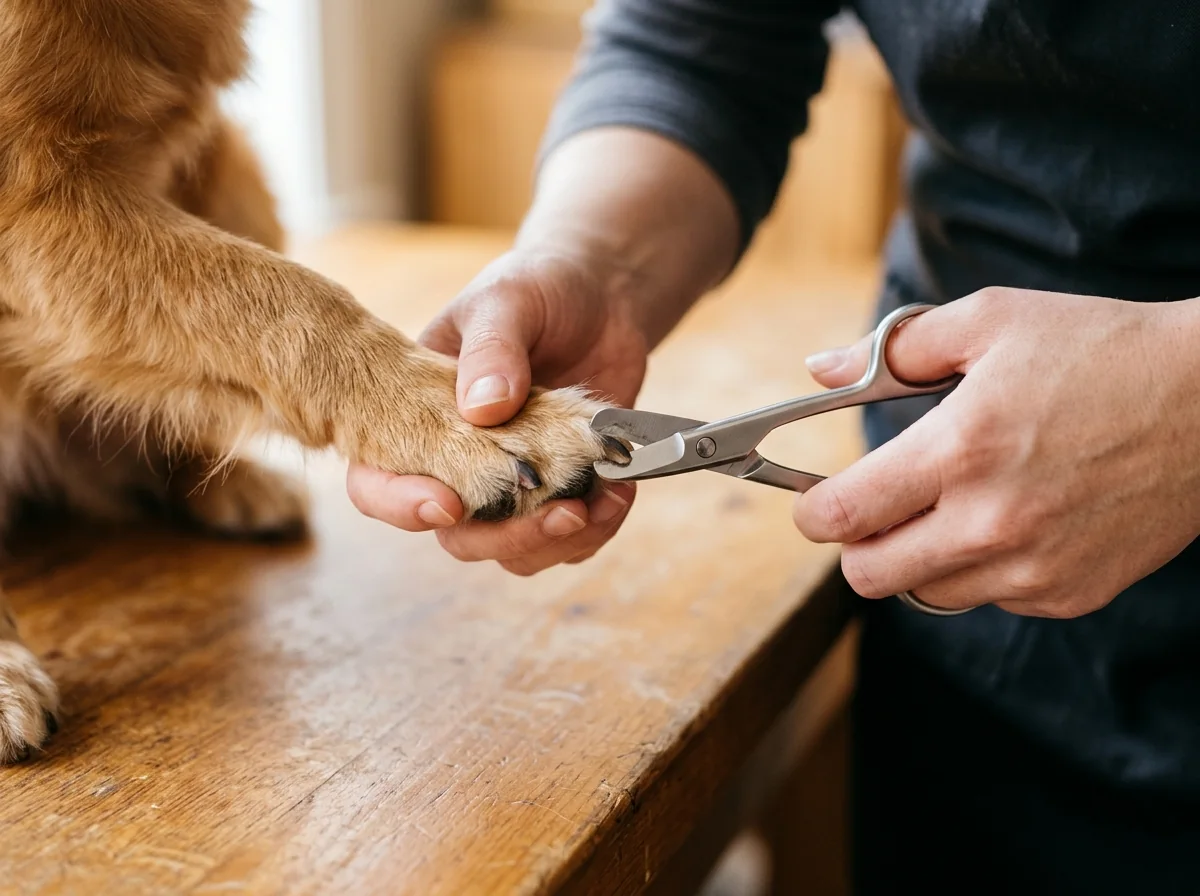
Never try to lop off 4mm of a dark nail in one blind chop! Instead, use sharp plier/scissor-style stainless nail clippers (avoid dull guillotine-ring clippers, which crush dense claws before slicing and cause pinching pain even far from the quick) to shave thin 1mm wafers off the downward-curving tip. Look straight head-on at the cut circle after every tiny slice:
The smooth, slightly moist-looking dark pulp circle ("the bullseye") appears directly in front of the live blood vessel and nerve bundle.
3. Bonus Landmark: Flip the Paw Backward Like Shoeing a Horse!
Instead of pulling your dog's front leg forward toward their chest (which pulls shoulders uncomfortably and blocks your view), stand beside your dog and bend the paw backward at the wrist/ankle while keeping the leg low under their ribcage—just like a farrier picks up a horse's hoof! Looking at the underside of a black claw reveals a clear anatomical clue: the dead hook tip has an empty, V-shaped hollow groove underneath it (inverted taco shell), whereas the live quick zone fills out round and solid. Anything extending past that hollow underside V-groove is dead keratin hook.
4. Why Rotary Grinding (Dremeling) Recedes Long Quicks Faster
If your dog's nails went unclipped for months, the live vascular quick grew outward inside the claw horn. You cannot chop them short in a single day without causing bleeding and lifelong nail phobia. Instead, follow the 6-Day Bevel Receding Protocol:
- Equip a 60–80 Grit Sanding Band or Diamond Bit Drum (diamond bits run 50% cooler than paper sanding bands and never fray).
- Tie Long Paw Hair Back First! Slip the toe gently through the toe-hole cut into an old thin nylon knee-high stocking so long Doodle or Golden Retriever feathering cannot wind into the spinning shaft.
- Tap for Max 2 Seconds Per Contact: Friction heats keratin rapidly! Touch the bottom tip for 2 seconds, lift off for 1 second, then bevel the top dorsal roof and side edges at a 45-degree angle. Thinning the top shell above the quick signals the blood vessel to retreat backward without ever breaking skin!
- Repeat Every 5 to 7 Days: Within 4 to 6 weeks, quicks typically recede
2–4mm, restoring compact, silent "cat-foot" posture.
Front dewclaws (and double rear dewclaws on Great Pyrenees, Briards, and Aussies) never touch pavement to wear down naturally. Left unchecked, they grow in a tight circle straight into the fleshy thumb pad—always check inside both wrists first!

Written by Sarah Jenkins
Sarah specializes in cooperative nail grinding desensitization and senior orthopedic paw maintenance. Read full bio →